Solar SoilProbe
I’ve already lost count of how many times i’ve forgotten to water my plants and this is the main reason this project was born. I needed some way of knowing how humid the soil was and how often I would need to water them in order to have the perfect balance, no matter the weather.
Sensors
The first sensor that came in mind was of course a soil sensor. To be precise, a capacitor soil sensor to avoid dealing with galvanic corrosion.

But that’s the only precise thing about this sensor. Pretty much anything will change the capacitance between it’s plates and, consequently, it’s output.
To counter at least one of the variables, I picked up an already encapsulated 10K NTC thermistor.
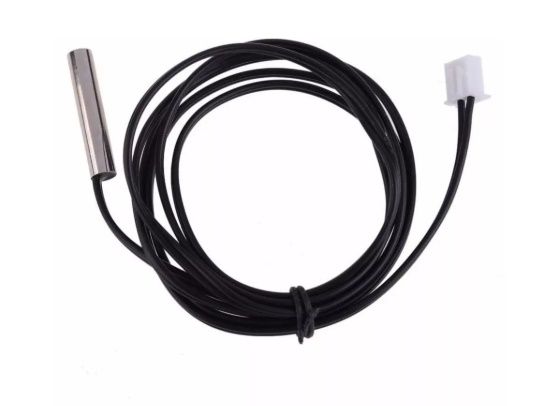
The output of this specific thermistor, the MF58 is already well known, but in order to validate I was really working with one of those, I tried to do some calibration using a thermocouple as a control. The values and the linear regression done to get the approximated parameters are available on a jupyter notebook at the MYSNetwork_Nodes repository.
After calibrating the NTC, the only sensor missing is a LDR to measure the light intensity hitting the plant and, most importantly, the solar panel that is going to power all of this.
Power
I didn’t want to be going out to charge this node every now and then, so I decided to use the case of an old solar powered LED for this job.
To save as much power as possible, the microcontroller in use and the circuitry around it(in this case an atmega328 on a arduino pro mini) needs to go through some modifications:
- Desolder the green power LED and the voltage regulator.
- Make sure to put the uC on Power-Save Mode. This is already taken care of by the MySGW library through
a
sleep(time_ms, false)call.
But still after this, the other sensors would still use power. To prevent that from happening, I joined all of them on a separate power rail in which the GND is controlled via an AO3401a N-Channel Mosfet that only gets turned on only at the time of sampling,
After that, I had to cram I all in the case and the board ended up looking like this

Now i can have all the data relayed back to my HomeAssistant dashboard:
